We all know that the lime mortar joint will erode over time. To slow down that process you create a shell of lime on the surface of the mortar joint. This done by smoothing the joint with a trowel while it contains moisture on the face.
The 2 main materials used in cement that comply to AU standards are cement and lime. The 3rd material is sand which will vary and can have an adverse effect on the final mortar mix.
We all know that the lime mortar joint will erode over time. To slow down that process you create a shell of lime on the surface of the mortar joint. This done by smoothing the joint with a trowel while it contains moisture on the face. The ratio of the fines which are the cement and lime to the coarse aggregate will vary based upon the grade of the sand used. The grade of the sand is ascertained buy the amount of clay and whether it is coarse (sharp) or fine.

The photo above shows the difference in the clay content. The light coloured sand was from north of the river and the other pile is from south of the river. The lighter sand is just a little coarser than the dark due to its proximity to limestone country and the dark is finer due its location to gravel. A bricklayer and a plasterers requirements are either of the two
From a plasterers point of view the above coarser sand was ready to rule in 5 wheel barrows. The finer sand was ruled at 8 wheel barrows. The bricklayers would be mixing the mortar up more often to retain its plasticity with the light coloured coarse.
The physical aspects of using the mortar between the two trades of plastering and bricklaying differ. One spreads it over a square meter and the other a lineal meter.
A bricklayer would prefer a mix that lasts on the mortar board as his mortar boards are spread along the length of the wall. The plasterer pushes the barrow of mortar onto the wall taking a series of short steps to the mortar source. Both trades have two different environments, an exposed external wall and a sheltered internal wall.
A bricklayers mortar is a water heavy mix that rolls of the trowel and spreads and holds form. Plasterers are pushing and spreading and that skill is different between individuals. A coarse sand is hard to push and spread with 1 shovel of lime (18:3:1) as apposed to 3 shovels (18:3:3)
The render on the external wall when applied has to deal with wet bricks, dry winds and sunlight to name a few. This will greatly affect how the cement cures.
So the 18:3:3 mix will work for the plasterer with the light coloured sand externally. The darker coloured sand will retain water longer having an affect on the curing time of the cement if that mix is used. The lime content has to be reduced and you can go as low as 18:3:1. If you use this mix (18:3:1) for the coarse sand it will dry out to fast.
The 6:3:1 mix's effect on the finer sand is that the plasterer has more control over the rate of "map cracking". As a general rule of thumb the render should be applied and finished in time frames based upon the temperature here
The plasterers render has to deal with the porosity of the substrate which can either be too wet or dry. The photo below shows 4 different substrates.
- Cement 3:1 patching done by the electrician
- Single brick south facing wall this is the internal face
- 6:1:1 float mix (yellow)
- Painted surfaces
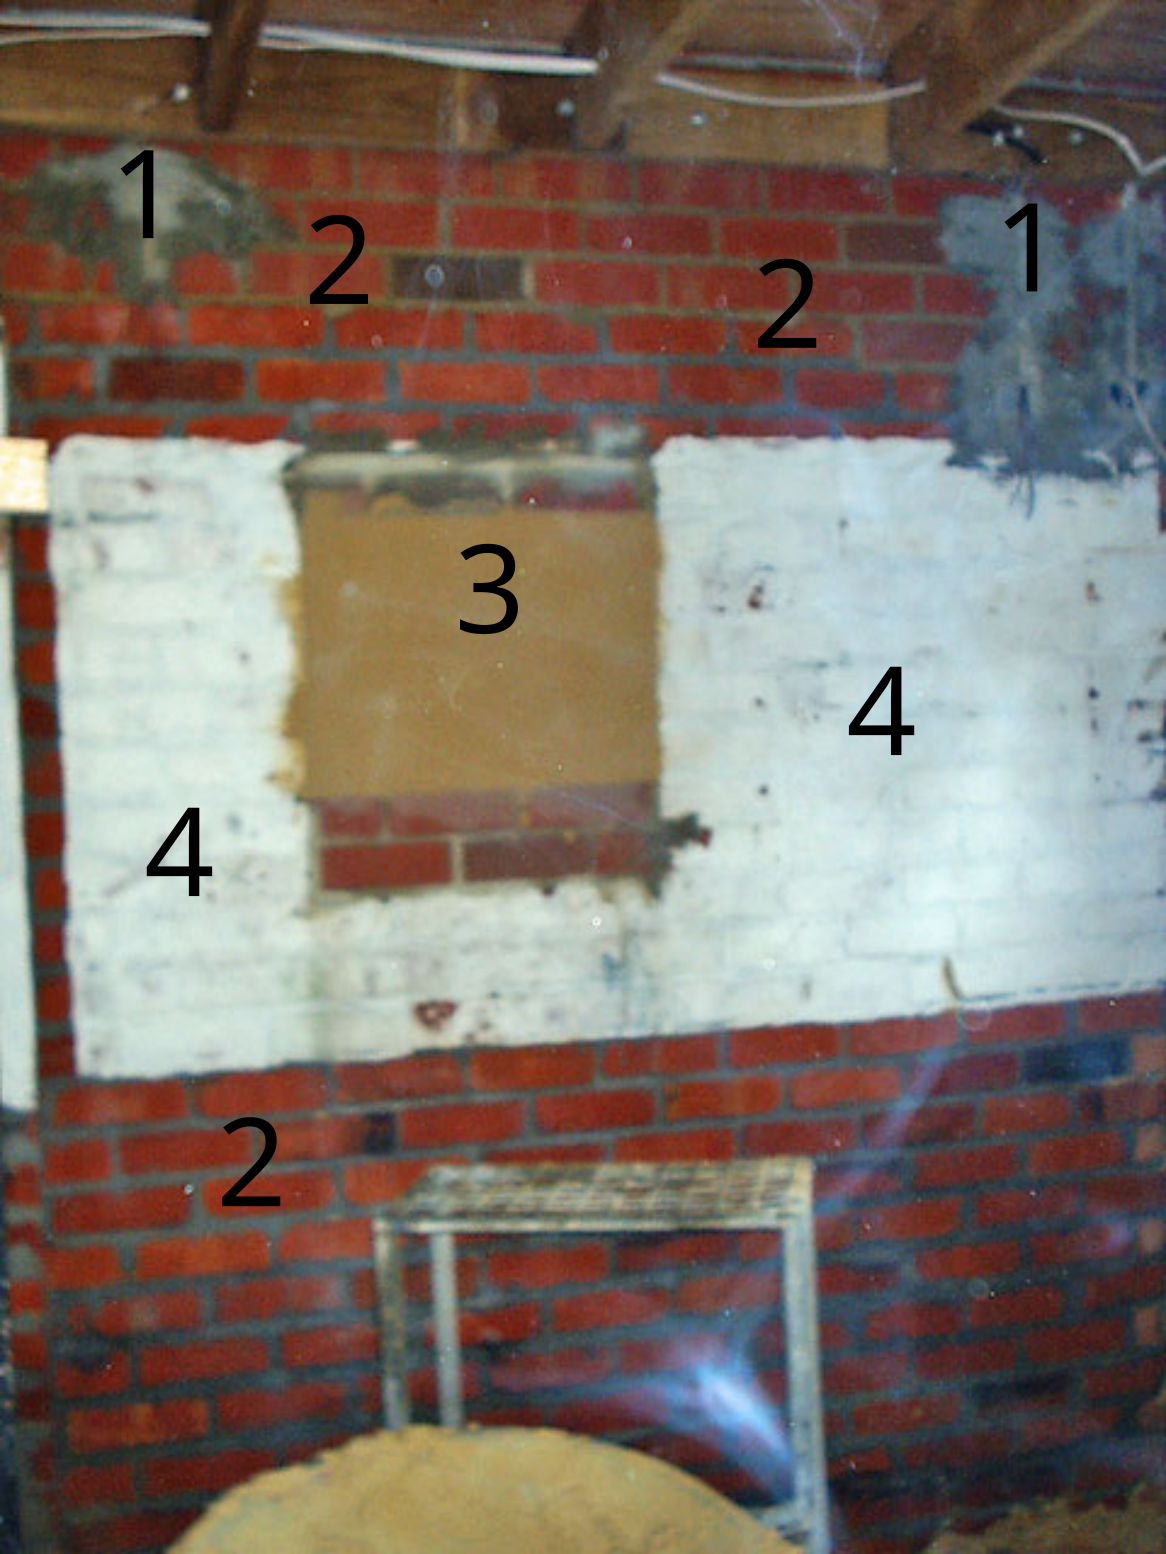
- Cement 3:1 patching done by the electrician :- Will not absorb much water out of the mix and a bonding agent is used
- Single brick south facing wall this is the internal face :- Will absorb the water out of the mix and dry from the inside out
- 6:1:1 float mix (yellow) :- Will take twice as long to dry as the single brick and a bonding agent is used
- Painted surface :- Will not absorb the mixes water at all and a bonding agent is used.
The brick pier's mortar joints has been pointed up using a 3:1 mix. The three courses below the wall plate have been laid using a 6:1:1 mix.
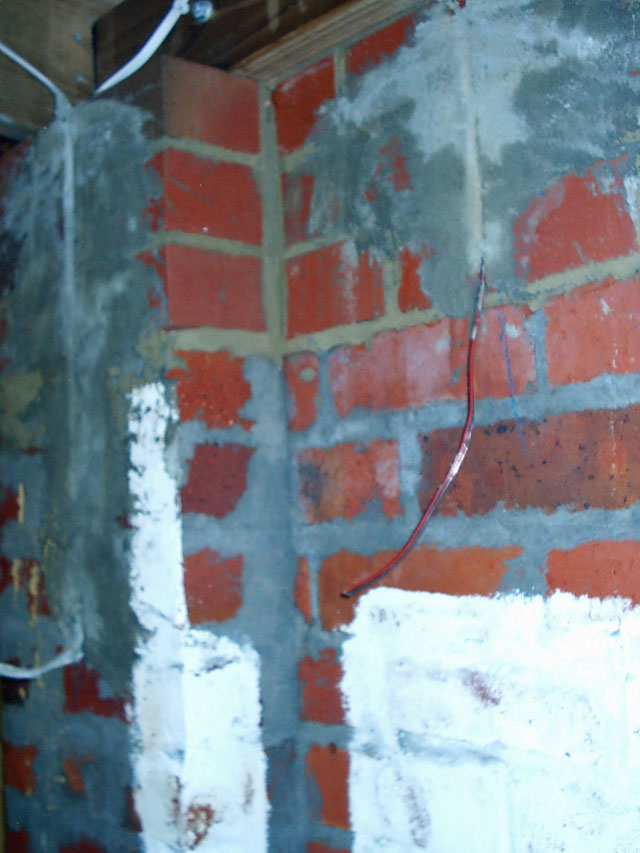
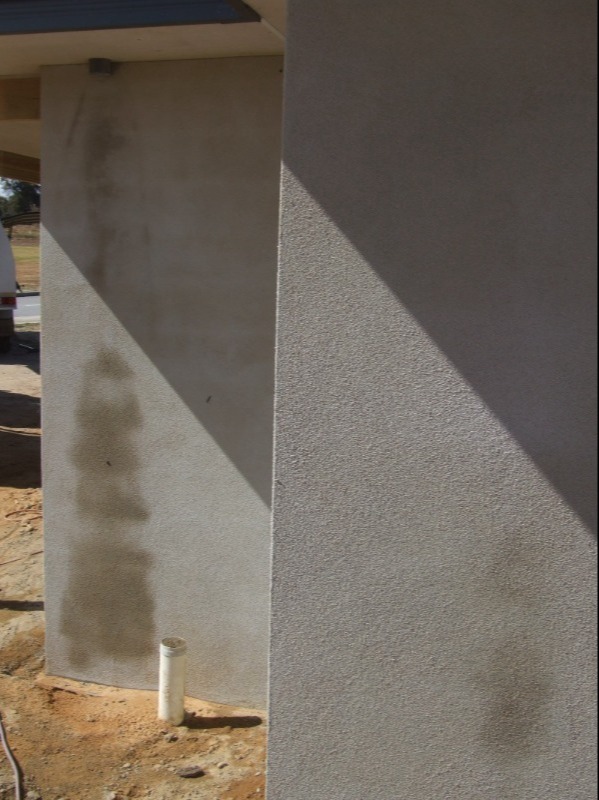
The next morning you can see the how the drying out progress is at different stages. The lighter coloured render is due to the 3:1 pointing only allowing minimal water to be absorbed into the strong cement mortar. The float coat in the middle has dried out as expected. The painted area and lower part of the wall are dry to touch, though there is moisture still contained in the render. The 3 courses below the wall plate are nearly dry.

You can see how the water leaches out of the render a few days later
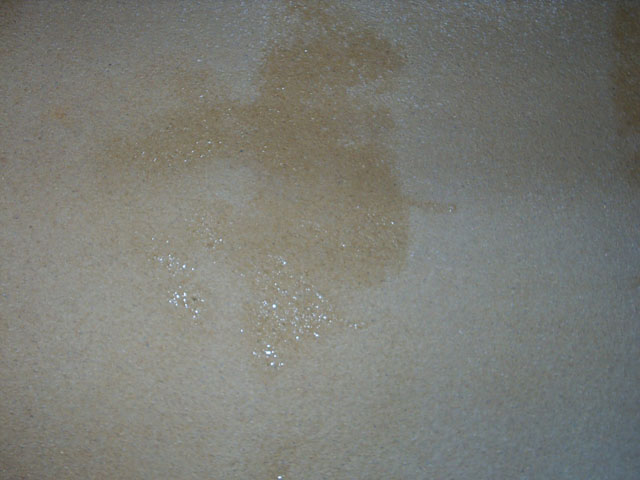
One of the reasons why the render can crack to create a mapping effect is the ratio of the lime in the mix. Using a 6:3:3 mix with a fine sand gives a highly fatty mix. 1 shovel of lime with a fine sand wont hold the water in the render as long as the 3 shovels of lime but will allow the cement to set correctly with minimal contraction.
A coarse sand would require the 3 shovels of lime as this sand is hungry for water and the extra lime helps with the retention of the water in the render. You will find using 1 shovel of lime with this coarse sand it will be difficult to work with and will start to prematurely dry before you have pushed on a small number wheel barrows.
The cracks are due to contraction of the cement as it drys. You will find that if you throw water over the wall the morning after it will reveal the extent. Do that again at seven days and you get an indication of whether they have increased or decreased.
Another factor can be that the brick work can be out of plumb or bends in or out of plumb. This results in differing thickness's of the render applied. Render that is 20mm thick will dry differently to 10mm thick render.
The wall below had about 1% of the wall area where the render did not bond to the brickwork due to other mitigating circumstances.
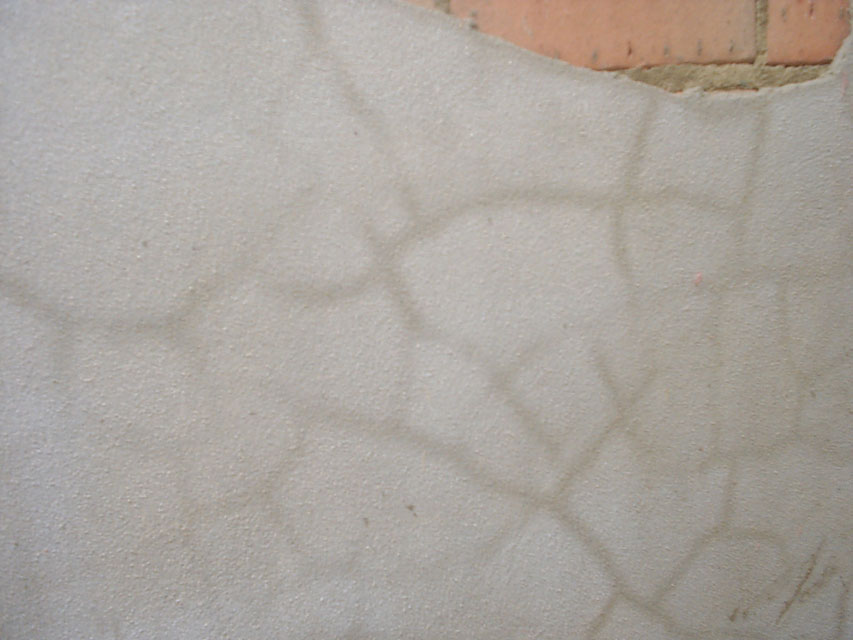
You can see the premature cracking of the mortar on the wall below. The substrate has not been adequately wet down. The brick work is sucking the water out of the mortar a bit to quickly. It also could be an air pocket.
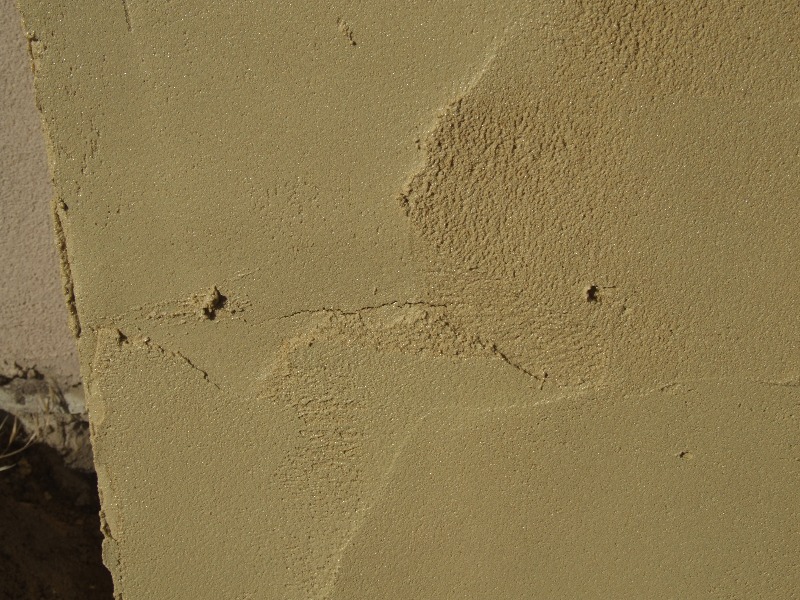
A good indicator of correctly finished render is looking at the down pipe area after heavy rains. It should be nearly dry in the morning and not show many cracks.
It really is knowing which pit the sand comes from and then working out the desired mix. With observation of the sand type it becomes second nature to determine the mix after a while.